iStock/monkeybusinessimages
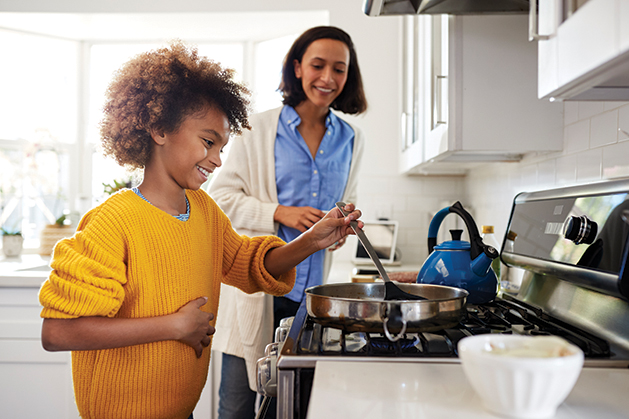
Teaching kids to cook can be an enjoyable, educational and tasty way to spend time together.
Start teaching your kids to cook early and slow with safe, confidence-boosting challenges before progressing to more complicated or hazardous undertakings. You know your child best; use your comfort level and their confidence and ability levels as guides. Here are some suggested kitchen tasks by age group for your up-and-coming chef.
Preschoolers are especially curious about food. Tap into their interest and developing motor skills by giving them jobs that promote both. Tiny fingers make little ones particularly adept at pulling leaves off herb stems! As they grow, these youngsters can move on to mixing, stirring and pouring pre-measured ingredients. Focus on short, simple tasks—nothing hot, heavy or sharp for these kiddos.
Grade schoolers are great culinary students because they can read! Have them practice reading recipes, ingredient lists and nutrition facts panels. As their math skills improve, teach them to use kitchen thermometers and dry and liquid measuring glasses, cups and spoons. Help them use small appliances like toasters, and introduce them to small paring knives. Rolling and cutting cookies, scooping cupcakes and skewering kabobs are great techniques to learn at this age.
Preteens aren’t satisfied with simple tasks—they want real responsibility! Help them make pancakes, eggs and grilled cheese on the stovetop and bake cookies or brownies in the oven. With supervision, they can also begin to use bigger knives and other cutting tools, like pizza wheels, vegetable peelers, box graters and can openers.
Older teens and new drivers love grocery shopping, or at least driving to the store! This is a great way to introduce them to value concepts and food costs. Give them some money to buy things they choose themselves; it’s a great way to encourage budgeting. And have them help with meal planning and cooking full meals. When they leave the nest, they’ll be happy they know how.
Classic Grilled Cheese
Serves 2
- Unsalted butter, at room temperature
- 4 slices Kowalski’s all-natural Prairie Mills white bread
- ¼ cup Kowalski’s shredded Italian 4-cheese blend, divided
- 4 slices Kowalski’s American cheese, divided
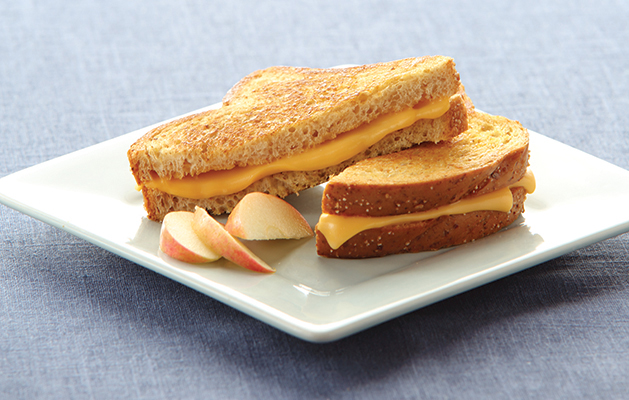
Butter one side of each slice of bread. Place one of the bread slices, buttered side down, on a nonstick skillet or griddle, preheated to medium. Divide shredded cheese, then sliced cheese evenly on top; put remaining slices of bread on top, buttered side up. Cook sandwiches on first side until the bottom is dark golden-brown (about two minutes); flip and repeat. If needed, reduce heat slightly and continue cooking, flipping occasionally, until cheese is melted and hot. Cut each sandwich in half on the diagonal; serve immediately.
Rachael Perron is the culinary and brand director for Kowalski’s Markets, where she specializes in product development and selection, culinary education and communications.